Mediterranean Garden Society
![]()
Mediterranean Garden Society

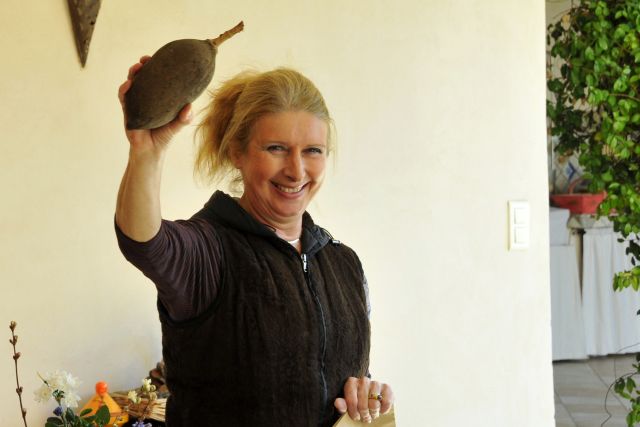
Seed workshop at the home of Chantal Guiraud, MGS Seed Coordinator
The photograph at the top of this page shows seeds and seed pods of Cistus ladanifer (Photo Wiki Commons)
A large group of MGS members came to this workshop to hear Chantal explain how to sow seeds successfully.
Containers
Chantal particularly recommends plastic cottage-cheese pots with the drainage basket inside, but there’s a lot of choices: ordinary flower-pots, yoghurt pots, fish or meat containers from supermarkets, individual cell trays (from nurseries or garden-centres), even egg-boxes. You can also get peat pots, but these are best avoided since peat is a diminishing and non-renewable resource. Chantal also showed us how to make our own pots out of newspaper.

Don’t forget to make holes in your containers. The earth should never be too wet. If necessary, sterilise the containers with hot water and bleach. In order to keep the plants moist once they have germinated, you will need a glass plate, plastic bags or cling-film to cover the containers.
Planting medium
There are several options:
Commercial compost: this is poor in nutrients and you will need to prick out the seedlings early.
Garden earth: this will need sterilising in the oven at 200 °C for 2 hours or in the microwave oven for 15 minutes.
Home-made medium: everyone has his or her own recipe. Chantal recommends a mixture of half and half peat and perlite, but it’s possible to increase the amount of perlite to 75%. Other recipes contain sand, garden earth and/or garden compost in various measures. The important thing is to increase drainage so as to avoid stagnation and consequent damping off of the seedlings. NB: Perlite is an amorphousvolcanic glass that has a relatively high water content, typically formed by the hydration of obsidian. It occurs naturally and has the unusual property of greatly expanding when heated sufficiently. Vermiculite is a hydrous, silicatemineral that expands greatly when heated. (Wikipedia definitions.) Both perlite and vermiculite are available commercially and online.
Sowing
Put a little gravel at the bottom of the container and fill it with your mixture to within 3 centimetres of the top. Firm the earth well and water it a very little. Sow the seed, leaving 2 centimetres between each one. Fine seed is more difficult: mix it with sand or with couscous for easier handling, or use a specialised seed-distributor. Cover the seeds with vermiculite to a height equal to that of the seeds. Firm again, then water from below. It helps to put a fungicidal product in the water or, if you prefer, a natural fungicide: powdered charcoal or cinnamon. Usually only one watering is needed before germination. Don’t forget to label your pots, mentioning plant name and date, preferably with an indelible pen.
Some seeds need cold in order to germinate, for example, Mediterranean and North American species. Leave them outside, or in a greenhouse or cold-frame, in the shade. Protect them from rain, slugs/snails and pets. (NB: You could try the following natural slug/snail deterrents: crushed eggshells, coffee grounds or bran. Result not guaranteed.) Some seeds will germinate only after several months or even years - don’t throw pots away simply because nothing comes up immediately. Other seeds need heat: tropical plants need a temperature range of between 24 °C and 28 °C. Keep these seeds in the warmth indoors. There are also seeds which require smoke as well as heat to germinate.
There are 4 key factors in successful germination:
Don’t start sowing too early, because the light won’t be adequate. February is the ideal month - the seedlings will be ready for pricking out in March. Don’t be disappointed if all your seeds don’t come up. Even Chantal, the expert, says she has a success-rate of 50%.
Germination
Watch your seedlings constantly. When the seed leaves appear, harden the plants off progressively by opening the containers, for an hour at first, but then for increasing lengths of time. Keep turning the pots to stop the seedlings leaning to one side. When two pairs of real leaves have appeared, it’s time to prick out the seedlings. Don’t wait too long, because the roots will end up by getting entangled and this makes pricking out much more difficult. Very important: water the seedlings well the day before pricking out. This makes the task much easier.
Prepare your pots in advance, using a mixture of ⅓ garden earth, ⅓ sand and ⅓ compost. A little fertilizer does no harm. Get the seedlings out with a teaspoon or a dibber.

Make a hole in the earth and gently insert the seedling, holding it by the seed leaves or real leaves. Never hold seedlings by the stem, which is too delicate to handle. Insert the seedlings till the seed leaves are touching the earth. Firm gently. Water, from below. Put the pots in the shade to develop, watering when necessary.
NB: when sowing seed of bulbous plants, leave the seedlings in the same container for at least 2 years, so that the new bulbs can form.
Pricking out seedlings
Harvesting seed
Chantal also told us how to harvest seeds. On a dry sunny day, cut the stems at ground-level and put them head-down in a large paper bag. Be sure to note down the name of the plant and the year. Leave the stalks to dry for a fortnight or so, in a dry and preferably warm place. Then give the bag a good shake, and the seeds will fall out. Put them in a bowl or soup-plate and blow the chaff away, very carefully.
Some seeds (euphorbia, acanthus, geraniums, erodium, ruellia etc) can be propelled far from the mother plant. To collect these, wrap the seed heads in an old stocking before they become brown, then wait for them to ripen.
In order to send seeds to Chantal, put them in an ordinary envelope, mentioning the botanical name, the year, your own name, and the place where the seeds were harvested. To keep the seeds yourself, put them in a paper bag or envelope (never use plastic because the seed will rot), and keep them in a dry place.
A tip to see whether old seeds are still viable: put them in a bowl of water and the viable seeds will fall to the bottom.
Text by Michèle Bailey. Photographs by Hubert Nivière.
THE MEDITERRANEAN GARDEN is the registered trademark of The Mediterranean Garden Society in the European Union, Australia, and the United States of America